Threshold configuration for AWS network load balancer
Site24x7 supports two different threshold profiles for your Elastic Load Balancing service, one at the network load balancer level and one at the individual Target group level. When a new network load balancer gets added as a monitor, a default threshold profile gets associated with it. This profile doesn't have any prepopulated metric values, you can either edit the default profile or create yourself a new one.
To create a new threshold profile for your network load balancer, follow the steps mentioned below:
To learn more on how you can add users and customize alert settings visit our User and Alert management page.
Create a new threshold profile for network load balancer
To create a new threshold profile for your network load balancer node follow the below mentioned steps
- Select Admin > Configuration Profiles > Threshold and Availability
- In the Threshold and Availability screen click on Add Threshold Profile
- Select Network Load Balancer from the Monitor Type dropdown and provide an appropriate label in the Display Name field for identification purpose.
Performance counters supported for the network load balancer will be shown under the Threshold Configuration section. You can configure values, set up alert conditions and alert strategies on an individual attribute level. By default only two attributes are shown, you can select more by clicking on the Select Attributes option. Based on the value of the metric relative to a threshold, alerts will be triggered
Detailed performance metrics for network load balancer are listed here.
To edit a threshold profile
To edit an already created threshold profile (network load balancer), follow the below mentioned steps:
- Select Admin > Configuration Profiles > Threshold and Availability
- Select the threshold profile which you want to edit
- Edit the configured threshold values and click on Save
To delete a threshold profile
To permanently delete a threshold profile(network load balancer) follow the below mentioned steps:
- Select Admin > Configuration Profiles > Threshold and Availability
- Select the threshold profile and click on Delete
Create threshold profile for the target group
To create a threshold profile for the various target groups specified in the lister rule of your load balancer, follow the below mentioned steps
- Select AWS > "Name of monitored AWS account" > Network Load Balancer
- From the monitors list page, select the network load balancer for which you want to configure thresholds
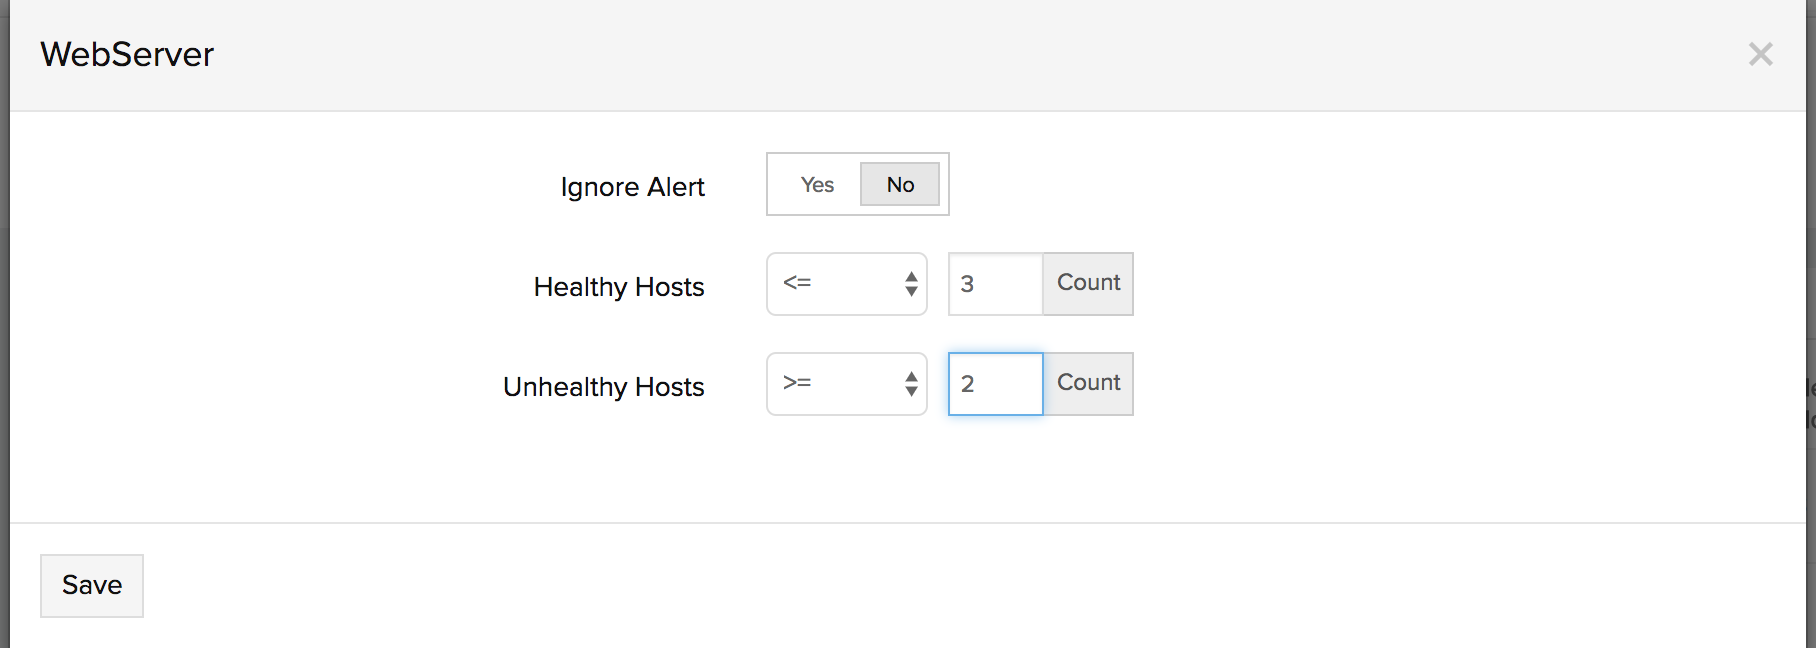
- Select the Target Groups tab. All the target groups specified in the listener rule of the associated network load balancer will be listed under the Target Group Details section
- Click on the pencil icon, setup threshold for the metric data - healthy and unhealthy count on an individual target group level and click on Save. You can also configure thresholds in bulk for all the attached target groups, by selecting the Threshold Configuration option


To edit the thresholds for the target group
- Follow the same steps mentioned above, click on pencil icon, edit the configured values and click on Save
To delete the thresholds for the target group
- Follow the same steps mentioned above, click on pencil icon, remove all the configured values and click on Save or switch the toggle button to yes for the Ignore Alert option.
